I started to teach some of my own lessons this week at Old Orchard Beach High School. I gave my first sketchbook assignment for the Art 1 classes, and introduced a Calder style mobile lesson with my sculpture students.
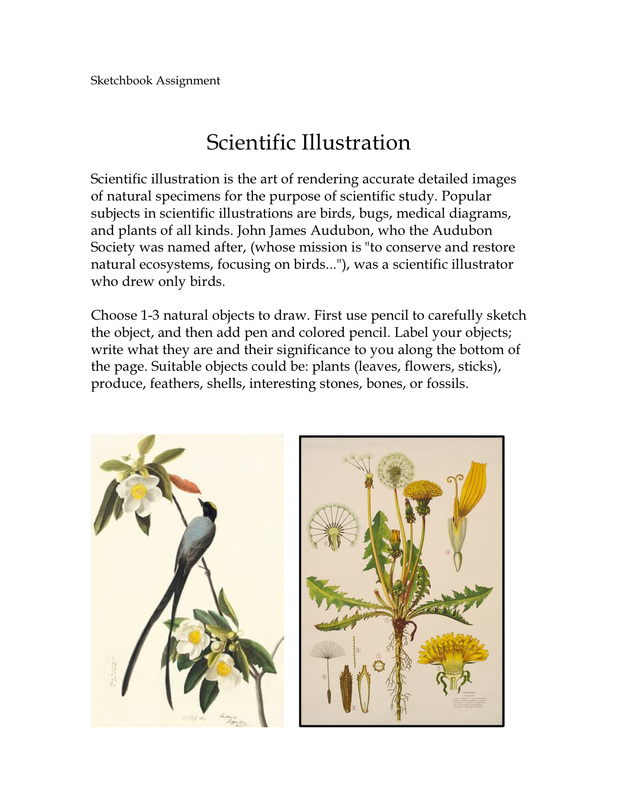
Scientific Illustration was the first weekly sketchbook assignment I gave at OOB. I can't wait to see what they choose to draw.
On Tuesday I gave a lecture and slide show to my sculpture students about Calder and his mobiles.
I then outlined the criteria for the mobile assignment:
1. Construct an original Calder inspired mobile with at least 9 colored shape elements.
2. Use balance, spacing, size, color, and shape to create a dynamic moving composition.
3.Demonstrate craftsmanship:
No unwanted kinks in the wire
Paper is well attached, not falling off, and no unwanted holes.
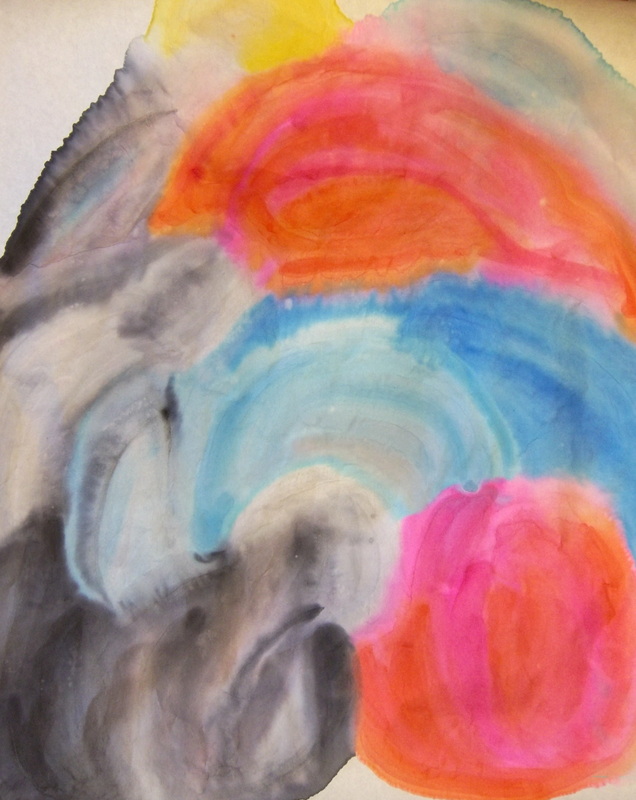
Students painted sumi paper with watercolors to use for the colored shape elements.
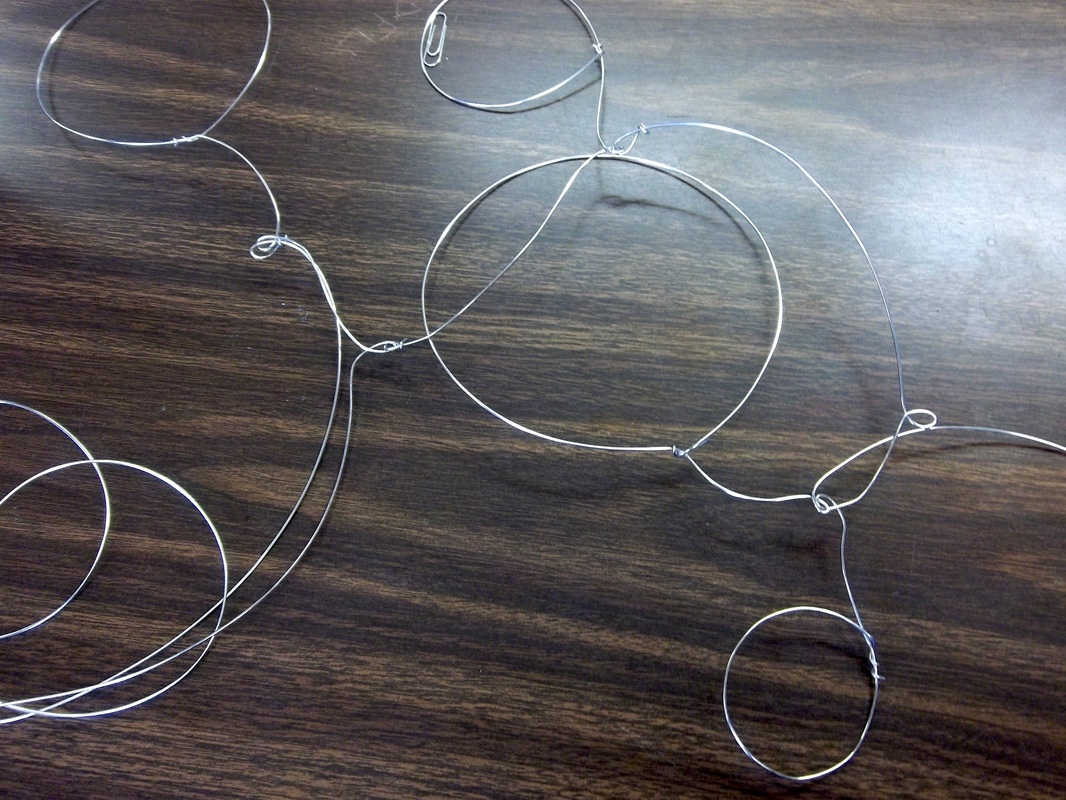
Students started bending wire to create their balanced mobiles.
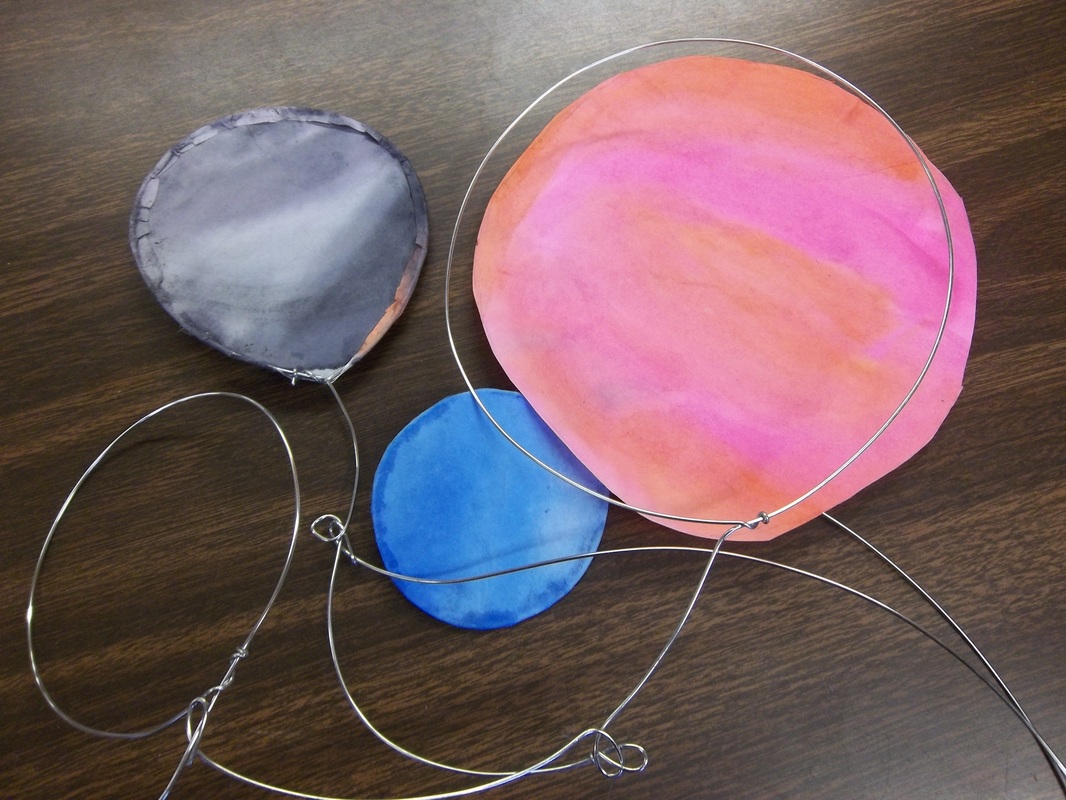
Next week students will start to add their sumi paper!
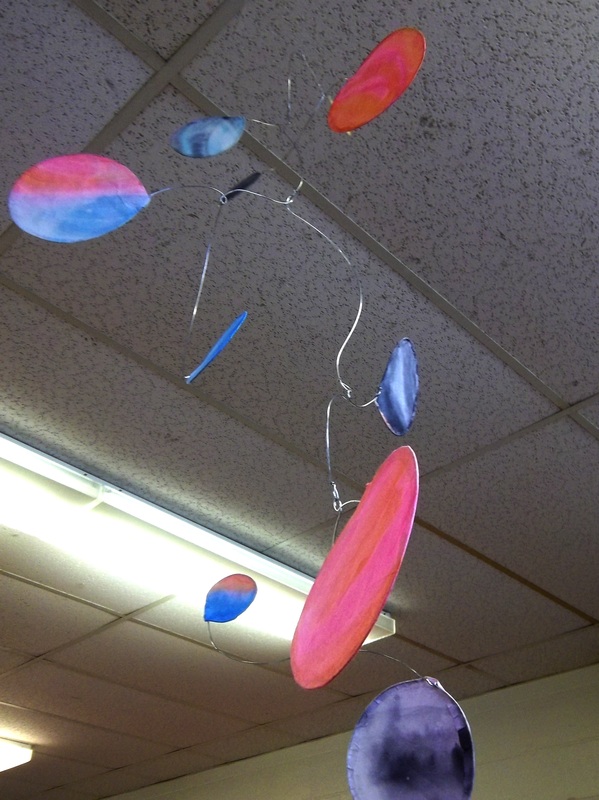
Here is one of the two sample mobiles I created for the project.
Stay tuned for more mobiles from the sculpture students!!
Click on the button below to download my Calder Style Mobile lesson:
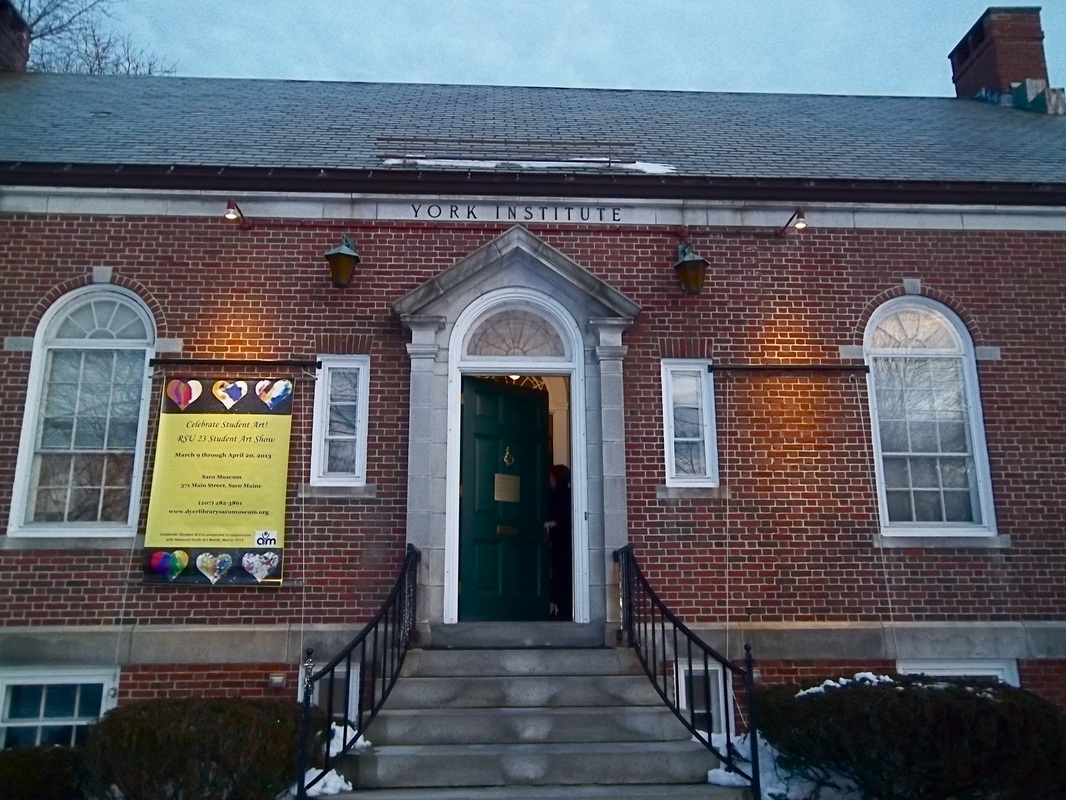
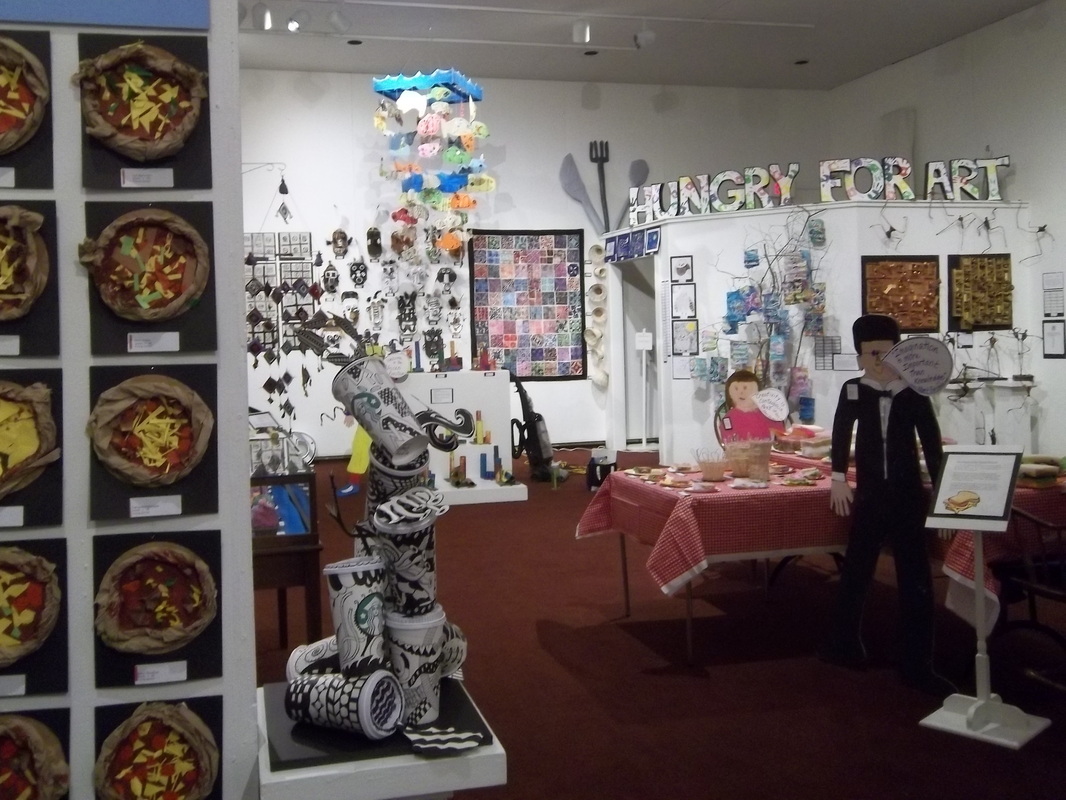
This week my High School mentor Piper Bolduc and I were busy setting up the district K-12 art show at the Saco Museum. This year the title is "Hungry for Art", and much of the work in the show reflected upon that theme.
It was a wonderful to get to experience setting up a district art show, to meet many other art educators, and to see countless examples of amazing lessons I could potentially teach in the future.
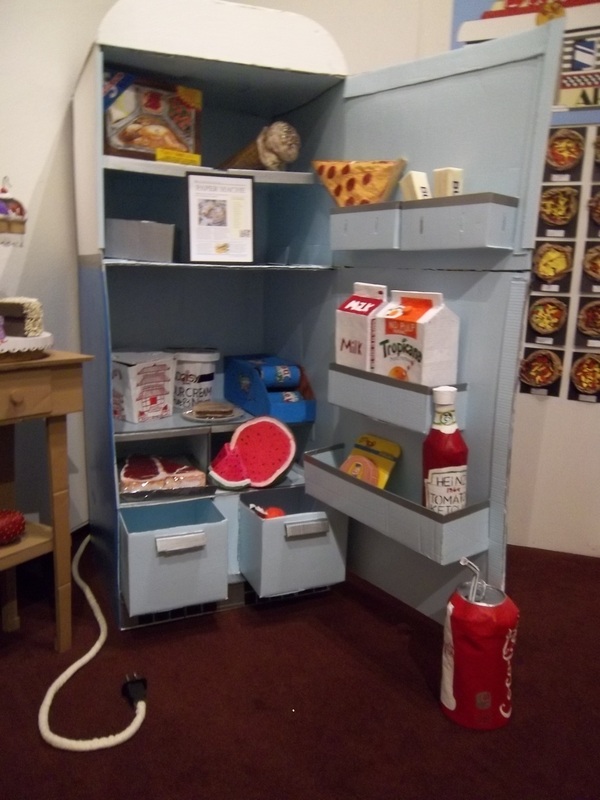
"The Big Chill" was the pride and joy of the advanced art students from Old Orchard Beach High School.
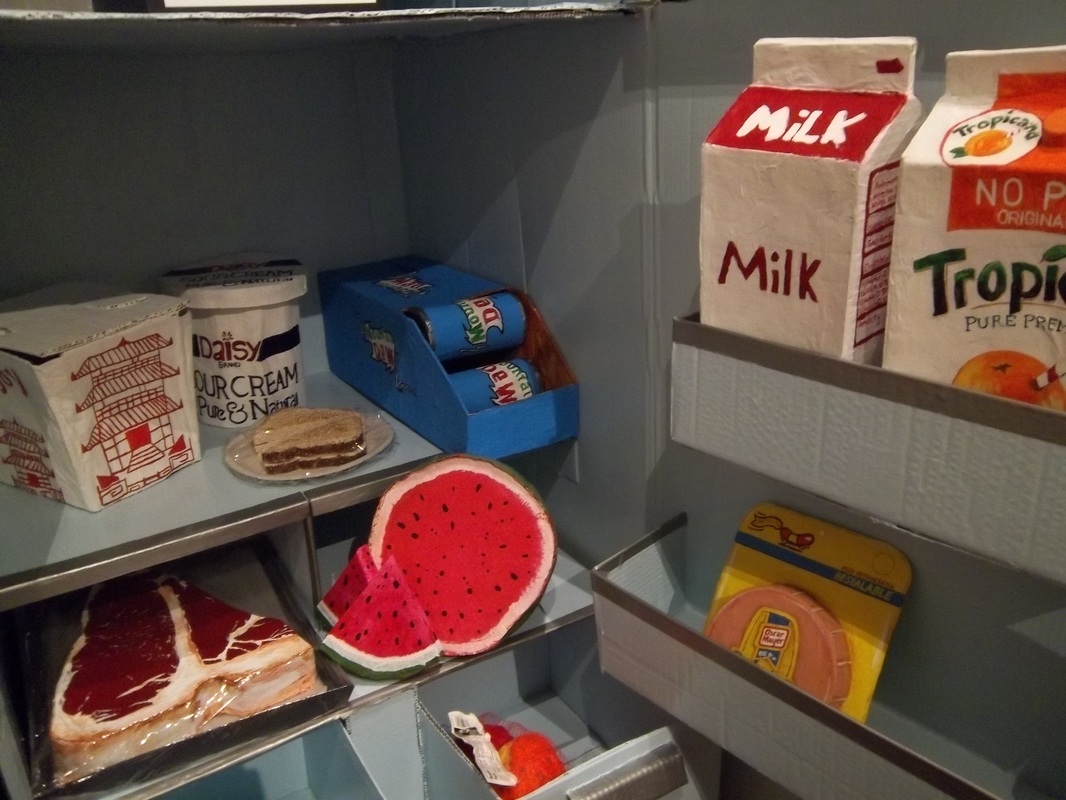
Inside of "The Big Chill", all of the food was made larger than life out of paper mache
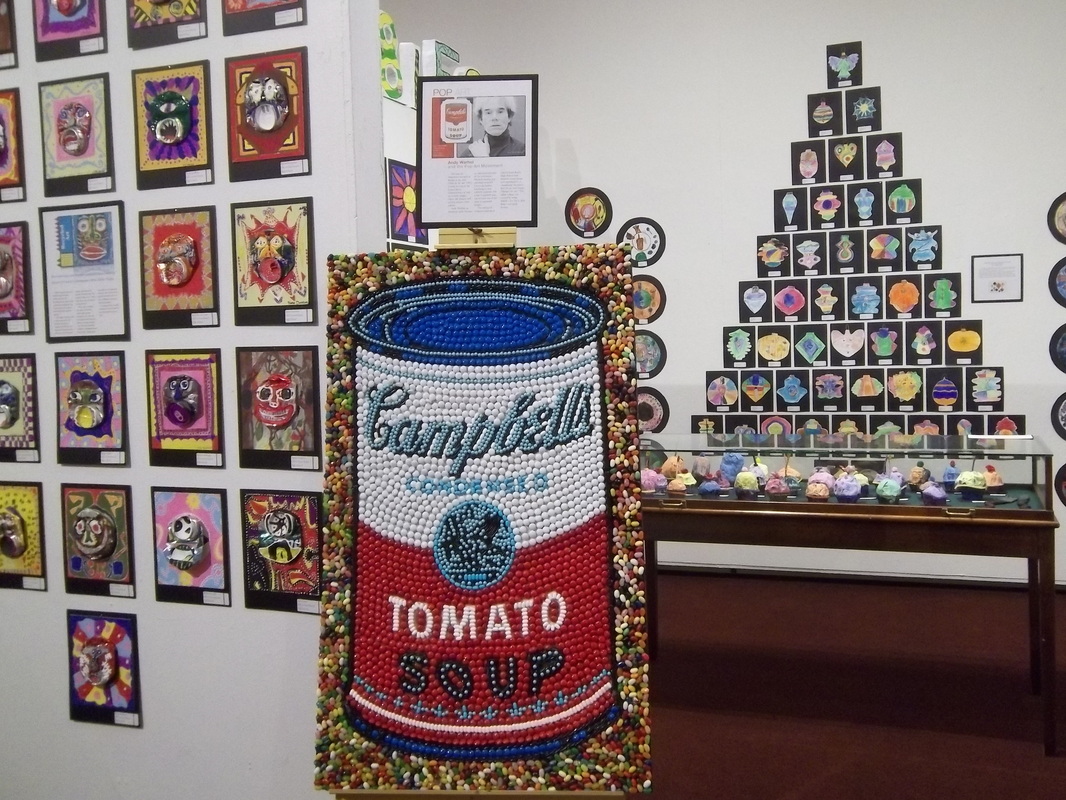
Inspired by Andy Warhol's Pop Art prints, this Campbell's soup can was made entirely out of candy by Old Orchard Beach High School students.
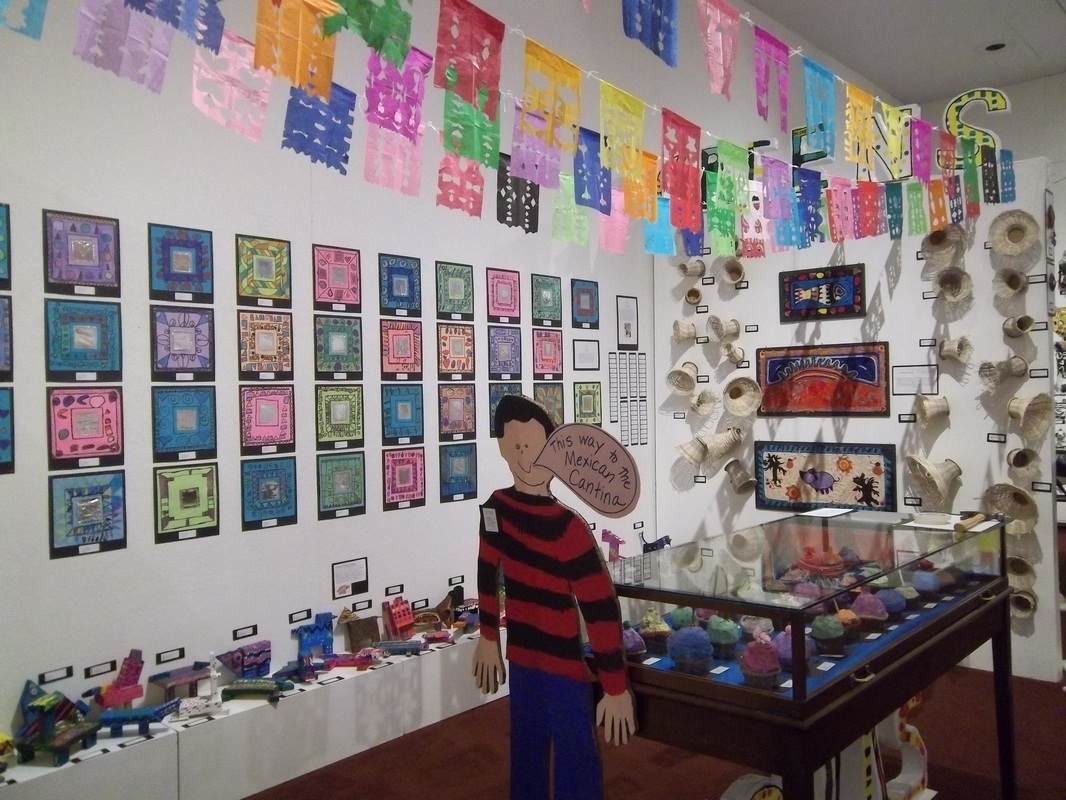
Sections were divided by theme, this is the Mexican Cantina.
The museum is filled with SO much art! Here are some of the projects that I really enjoyed:
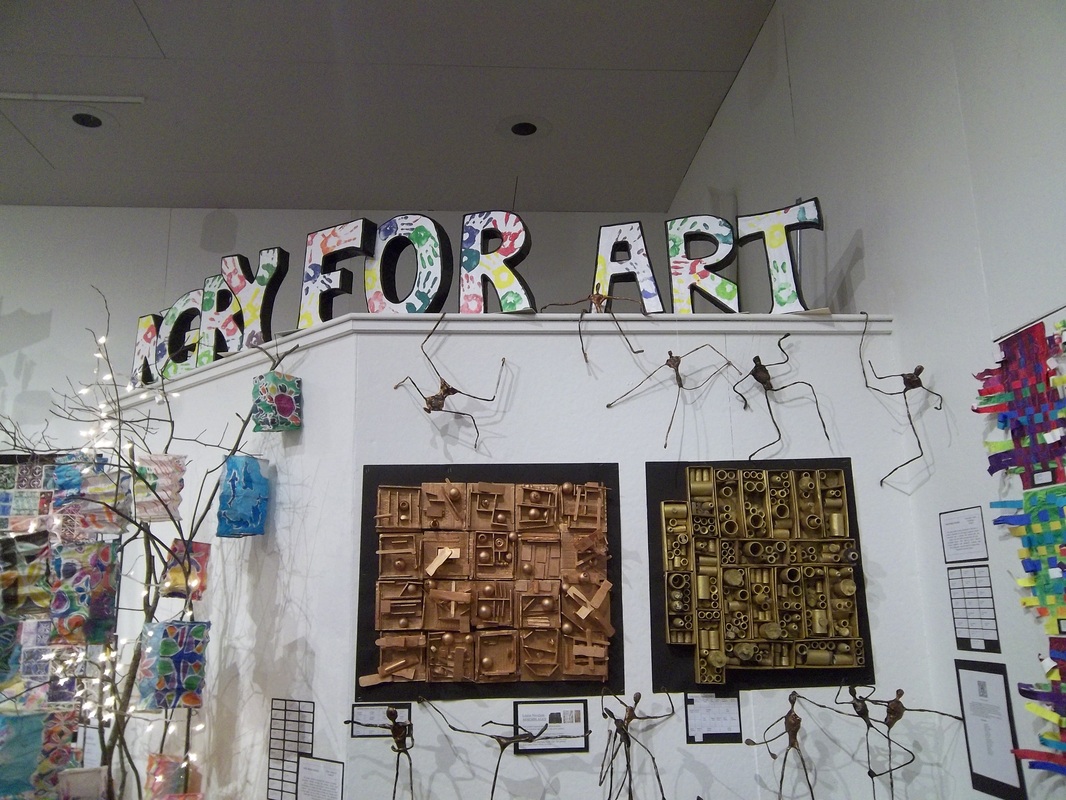
Paper mache letters by Loranger Middle School 7th grade students, Giacometti figures by 8th grade Saco Middle School students, and Nevelson studies by 1st grade Young Elementary School students.
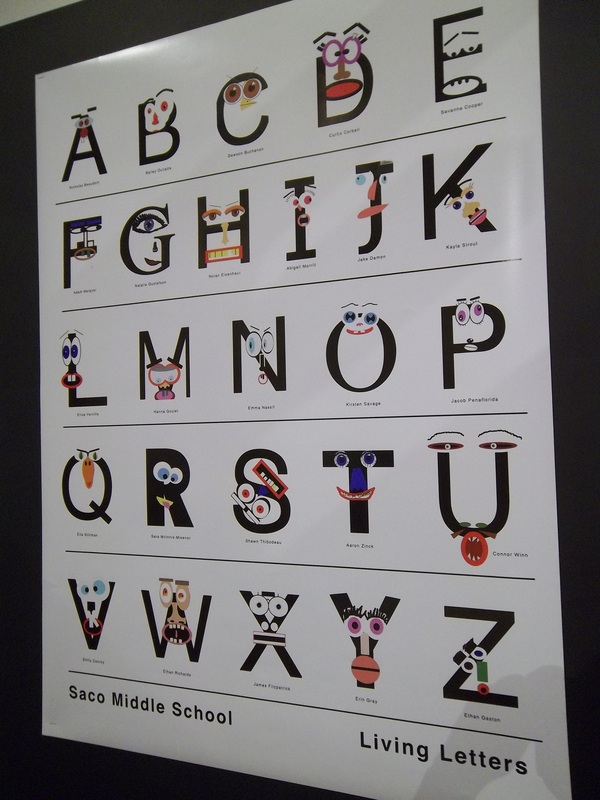
"Living Letters", a digital design project by Saco Middle School 7th grade students.

Collapsable paper lanterns by Saco Middle School 8th grade students.
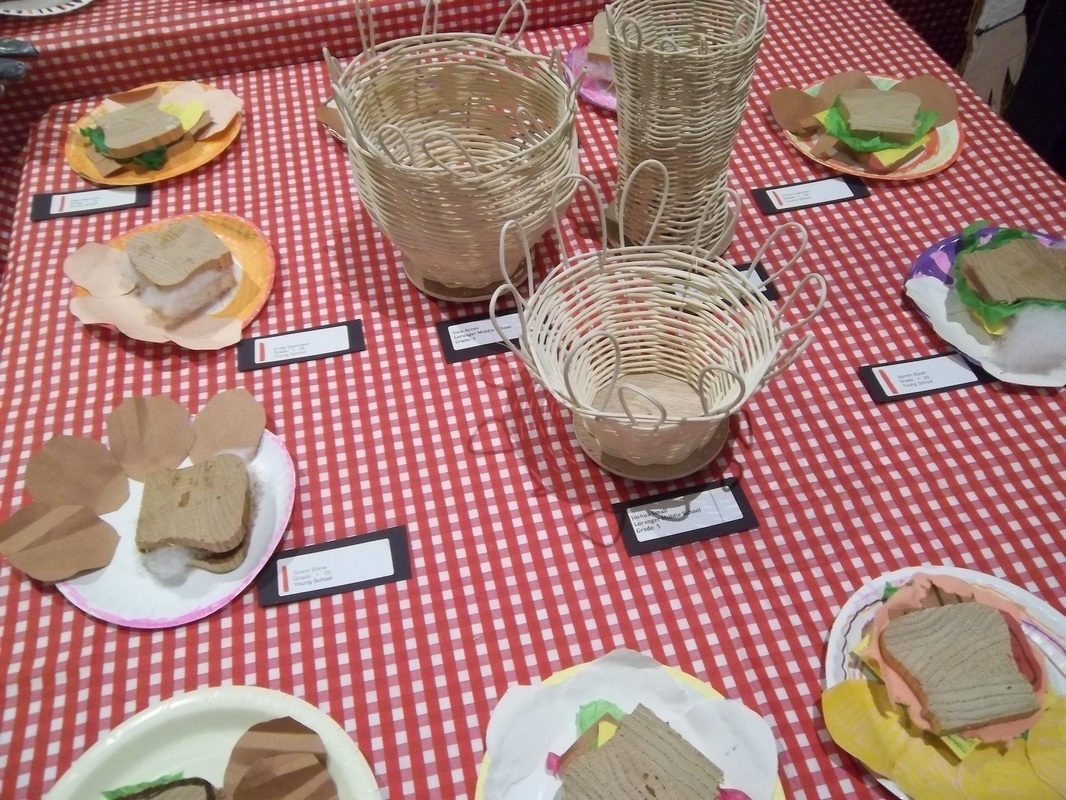
Baskets by 5th grade Loranger Middle School students and sandwiches by 1st grade students at Young Elementary School.
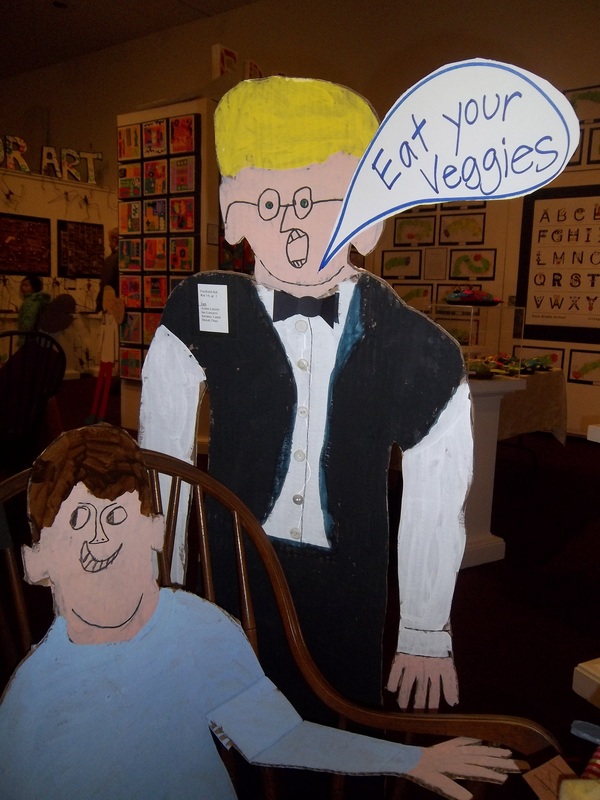
We brought some humor to the show by giving captions to the cardboard portraits by 1st grade students at Fairfield Elementary School.
The show is up until April 20th at the Saco Museum located at 371 Main St. Route 1, Saco, ME.
Hours at the museum are:
Tuesday-Thursday- 12:00-4:00PM
Friday- 12:00-8:00PM
Saturday- 10:00AM-4:00PM
Wow, the felt that is being made at Poland Community School is beyond beautiful. I am so proud of my students.
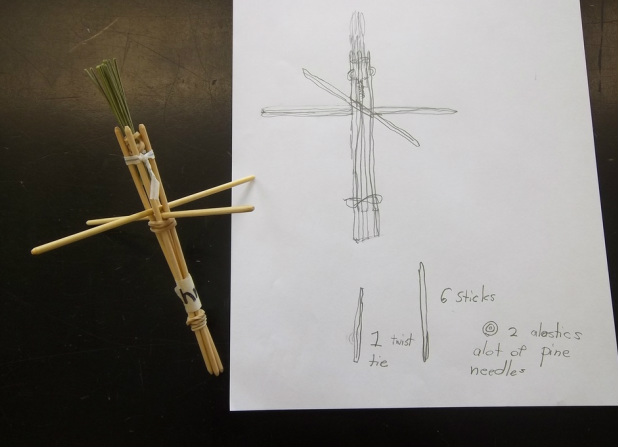
This week, Poland Community School students in grades 3-6 made amazing, handmade paintbrushes from found and recycled materials.
After an introduction to the traditional method of Pueblo yucca paintbrush construction, students were let loose to explore combining various materials in the construction of a personal paintbrush.
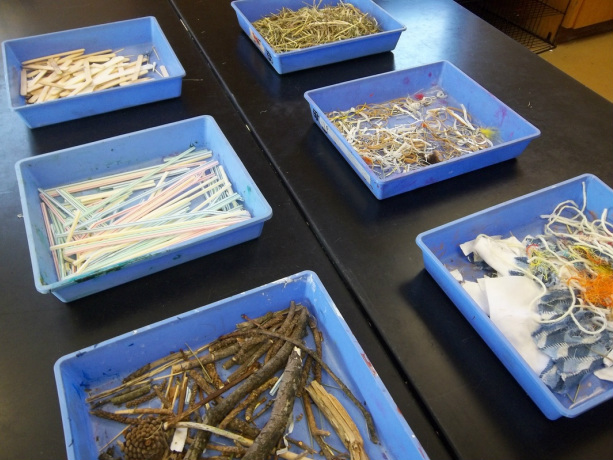
Materials available included chopsticks, popsicle sticks, straws, yarn, pine needles, hay, rubber bands, wire, and wool.
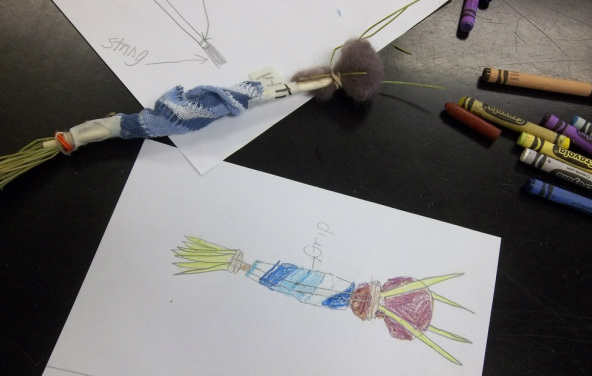
After students completed their paintbrush, they created observational sketches labeling the materials used in the construction of their new tool:
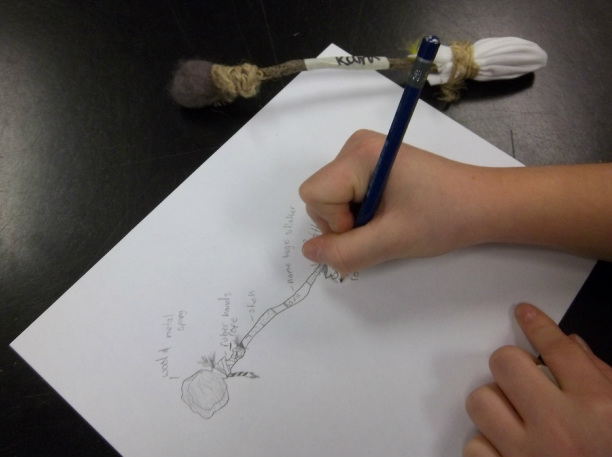
It is wonderful to see what materials went into each brush.
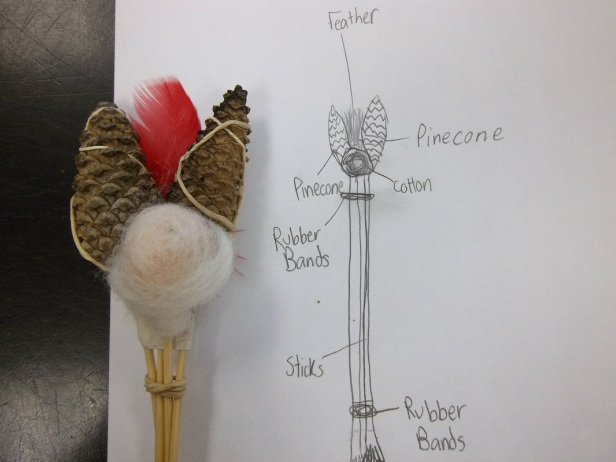
The observational drawings looked great next to the creative paintbrushes.
Some of the paintbrushes were designed and crafted very carefully.
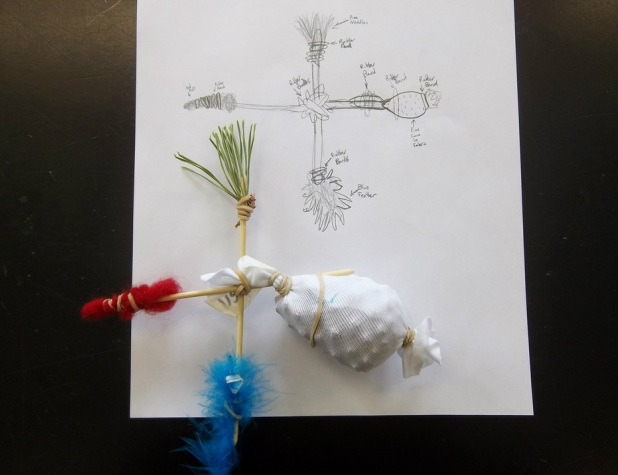
Some of the paintbrushes had four or more sides!
The students loved making their own paintbrushes and are super excited to paint with them next week. Stay tuned!
We just wrapped up a wonderful first week of K-2 felting at Poland Community School! I used my
Feeling Out Wet Felt lesson that you can find here:
/feeling-out-wet-felt.htmlThe students were introduced to the topic of felt last week with an informational slide show on the history and applications of felt. Students discussed sources of wool, how felt is made, and the practical and fine arts applications of felt. Students were also shown a beautiful Youtube video demonstrating the traditional Mongolian process for felt making:
This week, students were taught the step-by-step process for making felt. They learned that clean un-spun wool is called roving, and they learned how to carefully pull off small thin sections needed for felting. Students learned how to lay down at least two alternating layers of wool roving, they were taught why water and soap help the felting process, and how to carefully roll up their felting mat. Students then learned how to roll and agitate their wool in order to turn it into felt, and how to test the felting progress in a piece of wool.
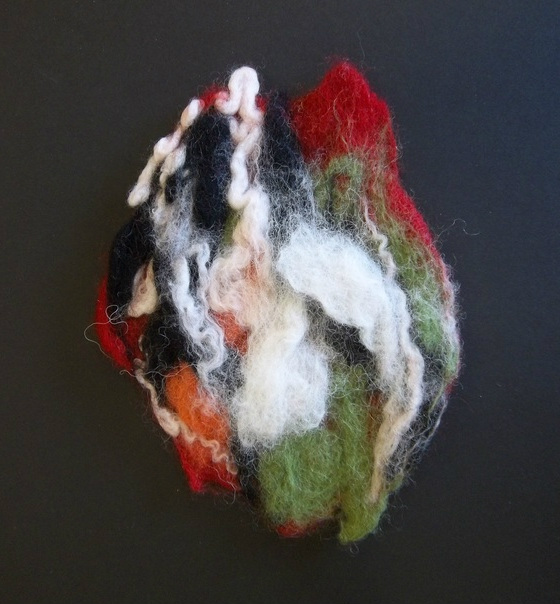
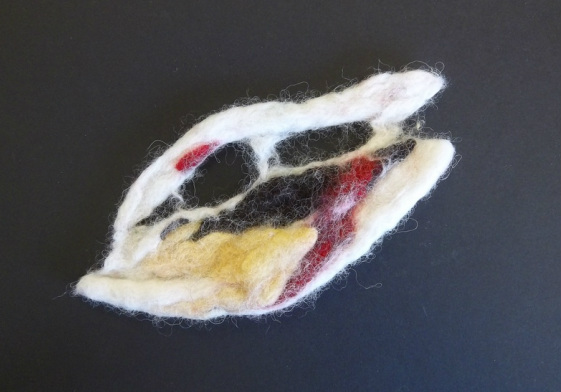
After the demonstration, students set to work making their own creative pieces of felt:
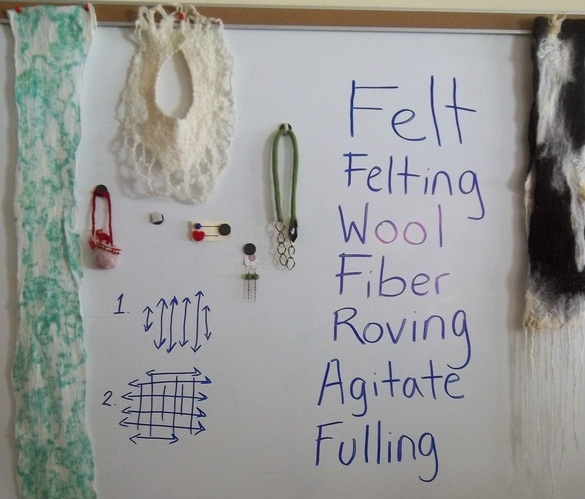
Vocabulary and examples of different felt applications were available on the board.

Here is the classroom set-up for felting- a detailed poster on the right helps students who need a reminder of the steps.
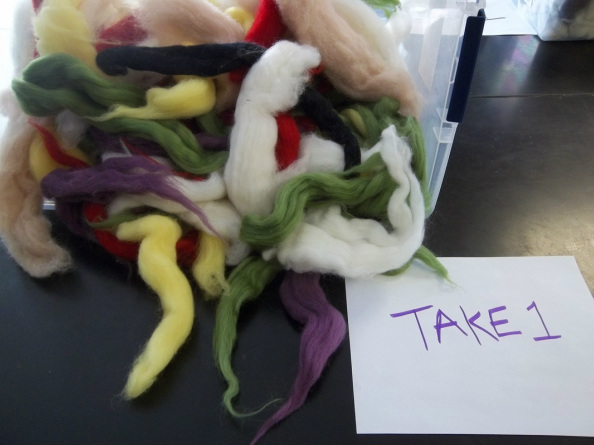
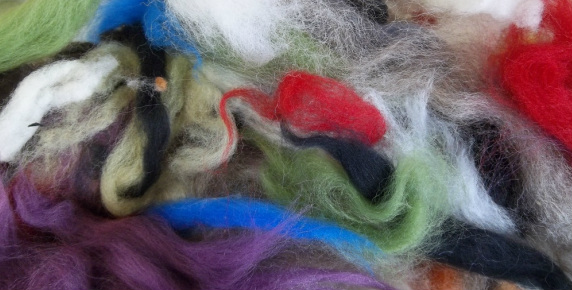
Felting requires wool roving (above), soap, warm water, and a textured felting surface.

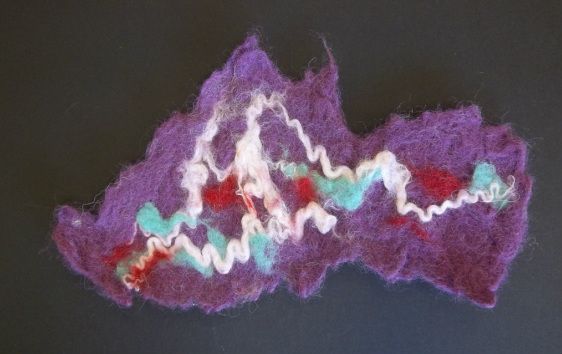
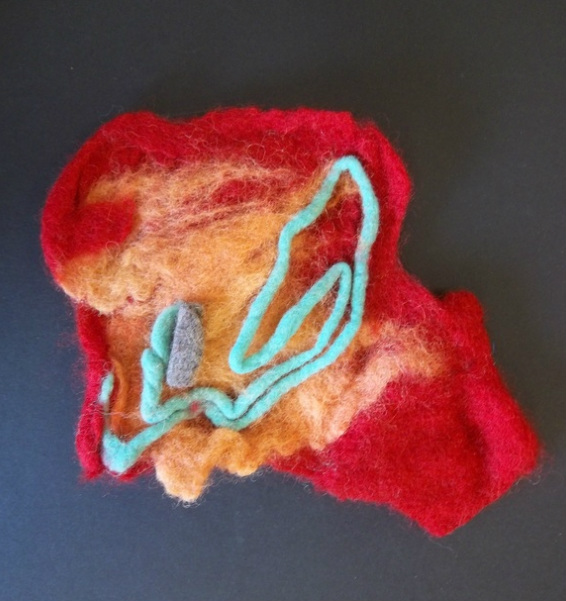
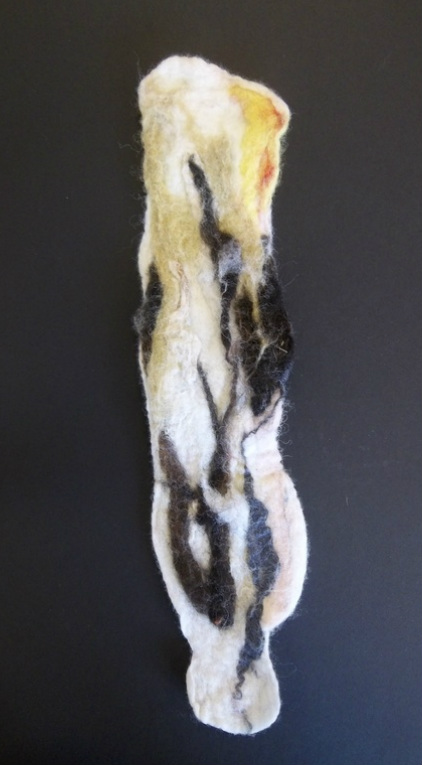
Here is a piece of felt after one class.
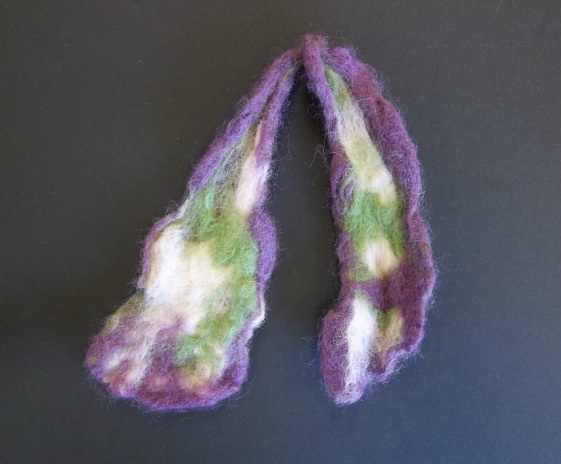
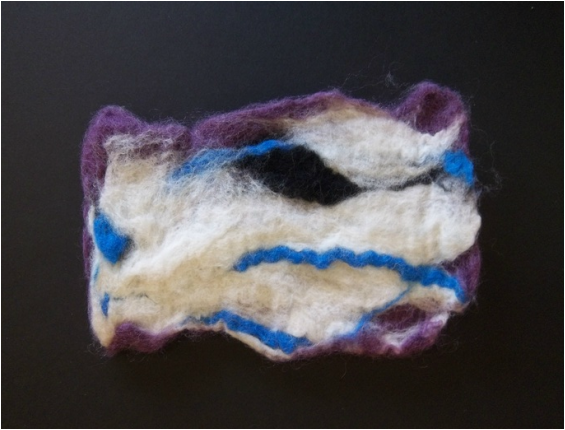
The results were amazing! Next week students will spend another class agitating their wool with warm soapy water; the fibers will interlock even more creating strong pieces of felt. The kids love the process and can't wait to bring home their creations. It makes me so happy to share my excitement and love for felting.
Stay tuned for more gorgeous examples of K-2 felt!

 RSS Feed